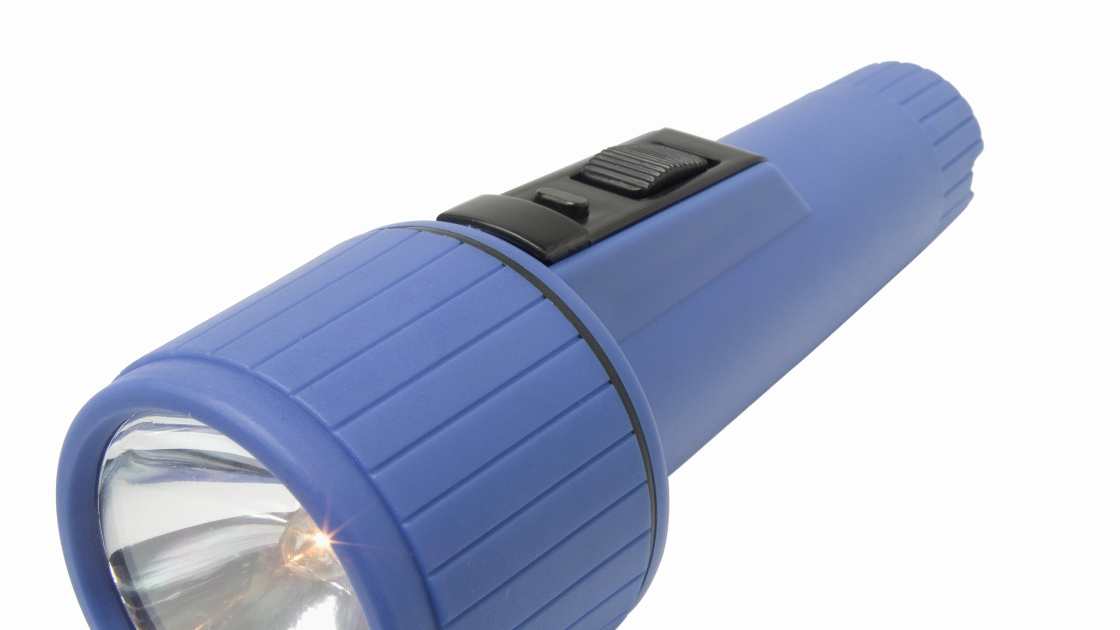
Flashlights are essential tools that come in handy during power outages, outdoor adventures, and emergency situations. While there are numerous flashlight options available on the market, building your own DIY flashlight can be a fun and rewarding project. In this step-by-step guide, we will walk you through the process of creating your own DIY flashlight using readily available materials. Let’s get started!
Materials Needed
Before diving into the construction process, gather the following materials:
PVC Pipe (1 inch in diameter and approximately 6 inches long)
LED Bulb (ensure it fits the diameter of your PVC pipe)
Battery Holder (suitable for your chosen battery type)
Switch (on/off button)
Batteries (compatible with the battery holder)
Wire
Soldering Iron and Solder
Electrical Tape
Drill (with a bit slightly larger than the LED bulb)
Sandpaper
Preparing the PVC Pipe
Start by cleaning the PVC pipe with water and soap to remove any dirt or debris.
Use sandpaper to roughen the surface of the pipe slightly, which will help the paint adhere better.
Apply a coat of paint to the pipe and allow it to dry completely. This step is optional but can enhance the overall appearance of your DIY flashlight.
Creating the LED Housing
Measure the diameter of the LED bulb and mark the center point on the PVC pipe.
Use a drill to create a hole in the center of the pipe, ensuring it matches the size of the LED bulb.
Insert the LED bulb into the hole, making sure it fits securely. You can use a small amount of hot glue to hold it in place if necessary.
Wiring the Circuit
Determine the appropriate length of wire needed to connect the LED bulb to the battery holder.
Cut two equal lengths of wire and strip off a small portion of insulation at each end.
Solder one end of each wire to the terminals on the LED bulb. Make sure the connections are secure.
Solder the other end of one wire to the positive terminal of the battery holder and the other wire to the negative terminal.
Cover the soldered connections with electrical tape to insulate them and prevent short circuits.
Installing the Switch
Decide on the location of the switch on the PVC pipe, preferably close to the battery holder.
Drill a small hole to accommodate the switch.
Insert the switch into the hole and secure it in place using hot glue or epoxy adhesive.
Connect one end of the wire from the negative terminal of the battery holder to one terminal of the switch.
Connect the remaining end of the wire from the other terminal of the switch to the negative terminal of the LED bulb.
Completing the Flashlight
Insert the batteries into the battery holder, ensuring they are correctly aligned.
Attach the battery holder to the PVC pipe using hot glue or adhesive.
Double-check all the connections and make sure everything is secure.
Test the flashlight by switching it on and off.
FAQs
Can I use different types of batteries for my DIY flashlight?
Yes, the choice of batteries for your DIY flashlight depends on your preference and the battery holder you have. Common options include AA, AAA, and CR123 batteries. Ensure that the battery holder you use is compatible with the type of batteries you plan to use.
Do I need to have soldering experience to build a DIY flashlight?
While some basic soldering skills are helpful, they are not mandatory. If you are new to soldering, you can practice on scrap wires before attempting to connect the LED bulb and the battery holder. There are also alternative methods such as using wire connectors or electrical tape, although soldering generally provides more reliable and durable connections.
Can I make my DIY flashlight waterproof?
It is possible to make your DIY flashlight more water-resistant, but achieving full waterproofing can be challenging. To enhance water resistance, you can use O-rings or silicone gaskets between the PVC pipe and the LED housing, switch, and battery holder. Applying waterproof sealant around the drilled holes can also provide some protection. However, it’s important to note that achieving complete waterproofing may require advanced techniques and specialized materials.
Remember to exercise caution when working with electrical components and always follow safety guidelines when building your DIY flashlight.
Conclusion
Congratulations! You have successfully created your own DIY flashlight. This homemade flashlight can serve as a handy tool in various situations. Remember to exercise caution when working with electrical components and ensure the circuit connections are secure. Feel free to personalize your flashlight by adding additional features or decorations. Enjoy the satisfaction of having a functional flashlight that you built from scratch!

