Dealing with a damaged drain pipe can be a daunting task, but with the right knowledge and tools, you can successfully repair it yourself. Whether it’s a minor crack or a major leak, here’s a comprehensive guide to help you through the process:
A Step-by-Step Guide to Repairing a Drain Pipe
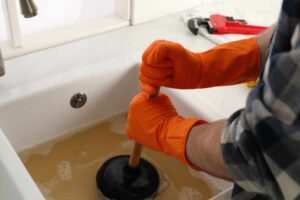
Assess the Damage:
Before beginning any repair work, carefully assess the extent of the damage to the drain pipe. Look for cracks, holes, or areas of corrosion. Determine whether the damage is localized or if it extends along a larger section of the pipe.
Gather Your Tools and Materials:
To repair a drain pipe, you’ll need the following tools and materials:
Pipe cutter or hacksaw
PVC or ABS repair fittings (couplings, elbows, tees, etc.)
PVC primer and cement (for PVC pipes) or ABS cement (for ABS pipes)
Pipe wrench
Sandpaper or emery cloth
Rubber gloves
Safety goggles
Prepare the Work Area:
Clear the area around the damaged pipe and ensure that there is enough space to work comfortably. Lay down a tarp or old towels to protect the floor from spills and debris.
Cut Out the Damaged Section:
Using a pipe cutter or hacksaw, carefully cut out the damaged section of the drain pipe. Make clean, straight cuts on either side of the damaged area, ensuring that the ends are smooth and free from burrs.
Prepare the Ends of the Pipe:
Use sandpaper or emery cloth to lightly sand the ends of the remaining pipe. This will help create a smooth surface for the repair fittings and improve adhesion.
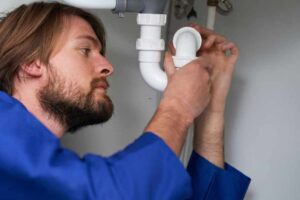
Select and Install Repair Fittings:
Choose the appropriate repair fittings based on the type and size of the drain pipe. Slide the fittings onto the ends of the pipe, ensuring a snug fit. If necessary, use PVC or ABS cement to secure the fittings in place according to the manufacturer’s instructions.
Connect the New Section of Pipe:
If you’re replacing a section of the drain pipe, connect the new pipe to the repair fittings using PVC primer and cement or ABS cement. Apply primer to the outside of the pipe and the inside of the fitting, then apply cement and firmly press the pieces together. Hold them in place for a few seconds to allow the cement to set.
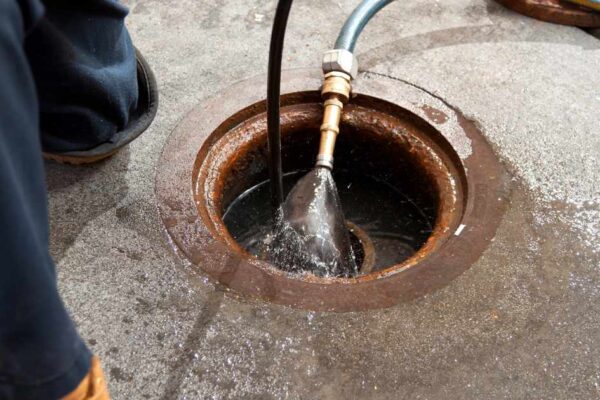
Test for Leaks:
Once the repair is complete, turn on the water or run water through the drain to test for leaks. Check the repaired section of the pipe thoroughly for any signs of dripping or moisture.
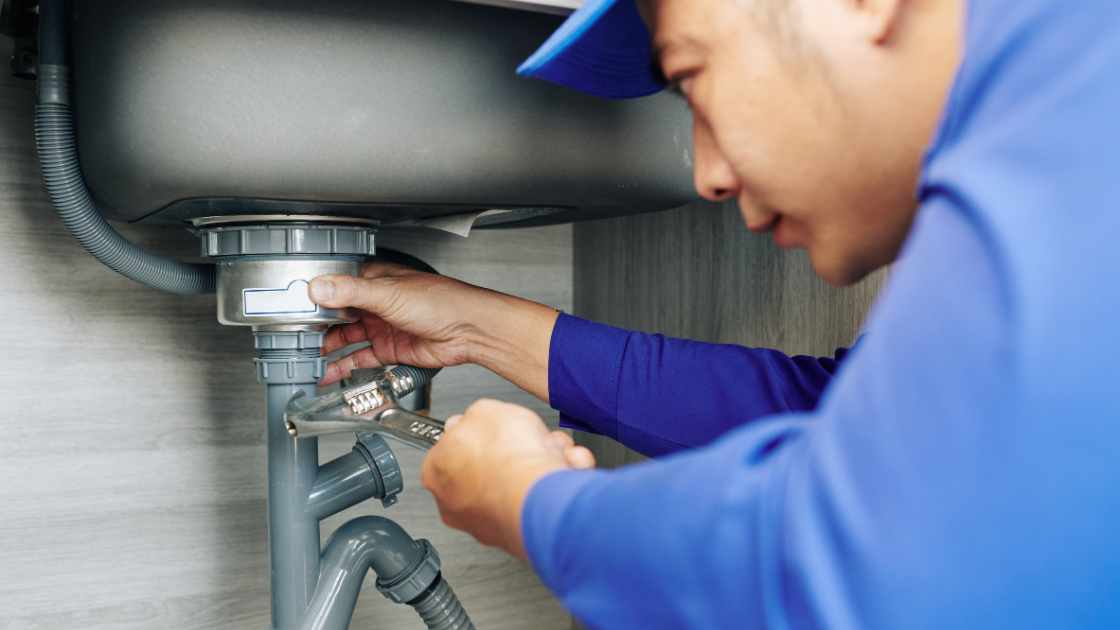
Reassemble and Secure:
If the repair is successful and there are no leaks, reassemble any components that were removed during the repair process. Use a pipe wrench to tighten fittings and ensure that everything is securely in place.
Monitor and Maintain:
Regularly inspect the repaired section of the drain pipe for any signs of damage or leaks. Address any issues promptly to prevent further damage and maintain the integrity of your plumbing system.
FAQs
How do I know if my drain pipe needs repair?
Look for signs such as water leaks, dampness, or mold growth around pipes.
Pay attention to unusual noises, like gurgling or bubbling sounds when water drains.
If you notice slow drainage or foul odors coming from drains, it may indicate a problem with the pipe.
Can I repair a drain pipe myself, or do I need to hire a professional?
Minor repairs, such as fixing small cracks or leaks, can often be done by homeowners with basic tools.
However, for more complex issues or if you’re unsure about the repair process, it’s best to consult a professional plumber.
Attempting a repair beyond your skill level could lead to further damage or safety hazards.
What are the common causes of drain pipe damage?
Age and deterioration over time, especially in older homes with outdated plumbing systems.
Corrosion caused by chemical reactions with drain cleaners or acidic substances.
Physical damage from impact, freezing temperatures, or shifting soil.
Final Thought
By following these steps, you can effectively repair a drain pipe and restore proper function to your plumbing system. If you encounter any difficulties or feel unsure about tackling the repair yourself, don’t hesitate to seek professional assistance.