Dealing with a leaking pipe can be a stressful experience for any homeowner. Whether it’s a small drip or a major gush, addressing the issue promptly is crucial to prevent water damage and costly repairs. Fortunately, with the right tools and know-how, repairing a leaking pipe can be a manageable task. In this guide, we’ll walk you through the steps to effectively repair a leaking pipe and restore peace to your plumbing system.
A Handy Guide to Repairing a Leaking Pipe: Tips and Techniques
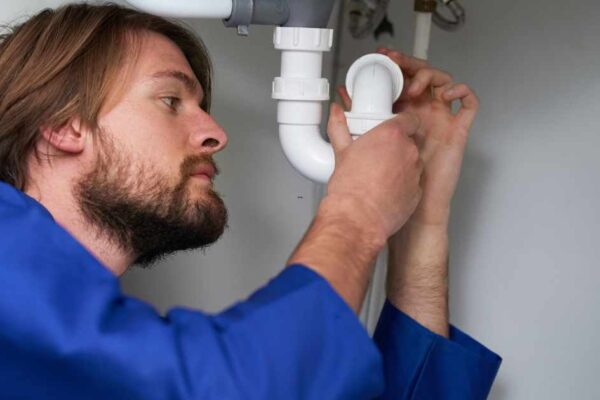
Identify the Source of the Leak:
The first step in repairing a leaking pipe is to identify the source of the leak. This may seem obvious, but leaks can sometimes be deceptive, with water appearing in one location while the actual source of the leak is elsewhere. Look for signs of water damage, such as water stains, mold, or dampness, and trace the source of the leak back to the affected pipe.
Turn Off the Water Supply
Before you begin any repairs, it’s essential to shut off the water supply to the affected pipe. Locate the main water shutoff valve for your home and turn it off to prevent any further leakage while you work on the pipe.
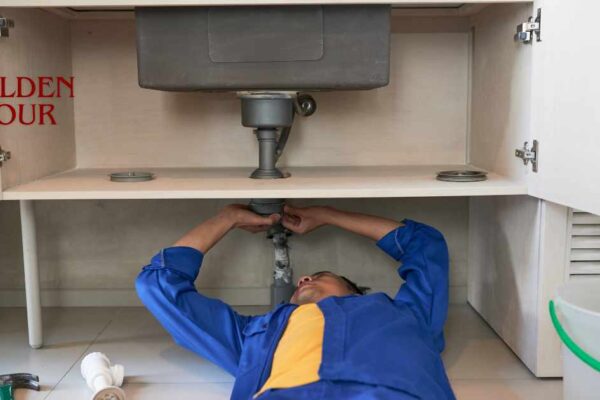
Assess the Damage
Once you’ve identified the leaking pipe and turned off the water supply, assess the extent of the damage. Determine whether the leak is due to a small crack, a loose fitting, or a burst pipe. This will help you determine the appropriate repair method.
Temporary Fixes
In some cases, you may need to implement a temporary fix to stop the leak until you can make a more permanent repair. Options include using epoxy putty, pipe clamps, or rubber patches to seal the leak temporarily. While these solutions can provide a temporary reprieve, it’s important to remember that they are not long-term fixes and should be followed up with proper repairs as soon as possible.
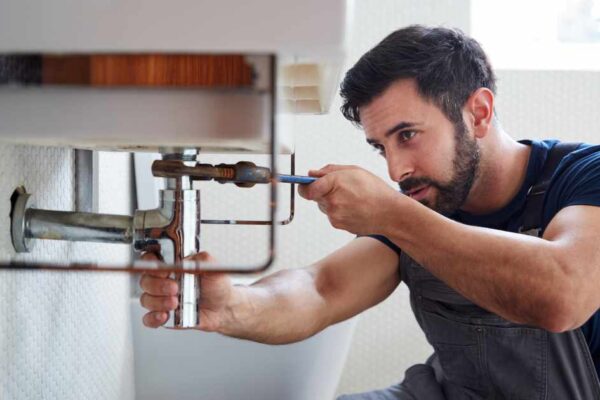
Repairing the Pipe
For more permanent repairs, you may need to replace a section of the pipe or tighten fittings. Here are the basic steps for repairing a leaking pipe:
- Cut out the damaged section of pipe using a pipe cutter or hacksaw.
- Clean the ends of the remaining pipe and the replacement section thoroughly.
- Apply plumber’s tape or pipe joint compound to the threads of any fittings.
- Use a coupling or union to connect the replacement section of pipe to the existing pipe.
- Tighten the fittings securely using a wrench.
- Turn the water supply back on and check for any leaks. If necessary, tighten fittings further or apply additional sealant.
Preventative Measures
Once you’ve repaired the leaking pipe, it’s important to take preventative measures to avoid future leaks. Regularly inspect your plumbing system for signs of wear and tear, and address any issues promptly. Consider insulating pipes in cold areas to prevent freezing, which can lead to burst pipes. And always be mindful of what you’re putting down your drains to avoid clogs and potential pipe damage.
FAQs
How can I temporarily repair a leaking pipe until I can make a permanent fix?
To temporarily repair a leaking pipe, you can use epoxy putty, pipe clamps, or rubber patches. These options can provide a quick fix to stop the leak temporarily. However, remember that these are temporary solutions and should be followed up with proper repairs as soon as possible to prevent further damage.
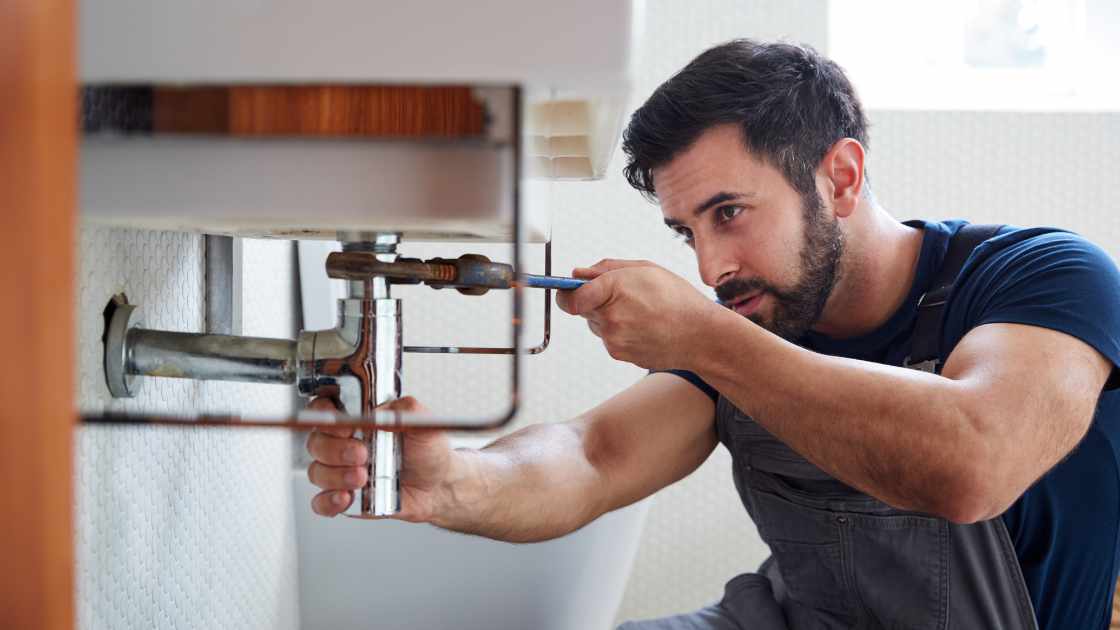
What tools do I need to repair a leaking pipe?
The tools you’ll need to repair a leaking pipe include a pipe cutter or hacksaw, plumber’s tape or pipe joint compound, wrenches for tightening fittings, and replacement sections of pipe if necessary. Having these tools on hand will allow you to effectively repair most types of leaks in your plumbing system.
How do I know if I need to replace a section of pipe or if I can repair it without replacing?
If the damage to the pipe is minor, such as a small crack or a loose fitting, you may be able to repair it without replacing a section of the pipe. However, if the damage is extensive, such as a burst pipe or severe corrosion, you’ll likely need to cut out the damaged section and replace it with a new piece of pipe. Assess the extent of the damage carefully to determine the best course of action for repair.
Final Thought
Repairing a leaking pipe may seem like a daunting task, but with the right tools and knowledge, it’s a task that can be tackled by most homeowners. By identifying the source of the leak, turning off the water supply, assessing the damage, and implementing the appropriate repair method, you can effectively address a leaking pipe and prevent further damage to your home. And remember, if you’re ever unsure about how to proceed, don’t hesitate to call a professional plumber for assistance.