Screw pops in drywall can be a common and unsightly issue in many homes. These annoying protrusions occur when the screws or nails used to attach the drywall to the studs pop out from the wall’s surface, creating a bump or dimple. Fortunately, fixing screw pops is a relatively straightforward DIY task that can restore your walls to their former smoothness. In this article, we will guide you through the steps to effectively fix screw pops in drywall.
There are 8 Effective Steps to Fix Screw Pops in Drywall
Gather Your Tools and Materials
Before you begin fixing screw pops in drywall, it’s essential to gather all the necessary tools and materials to ensure a successful repair. Here’s what you’ll need:
- Screwdriver or cordless drill with a screwdriver bit
- Drywall screws
- Utility knife
- Joint compound (also known as mud)
- Drywall taping knife
- Sandpaper (120-grit)
- Paint and primer (if needed)
Identify and Mark the Screw Pops
The first step in addressing screw pops is to identify their location on the wall. Inspect the affected area carefully, and use a pencil or masking tape to mark the spots where the screws or nails have popped out. Make sure to mark each screw pop clearly to ensure you don’t miss any during the repair process.
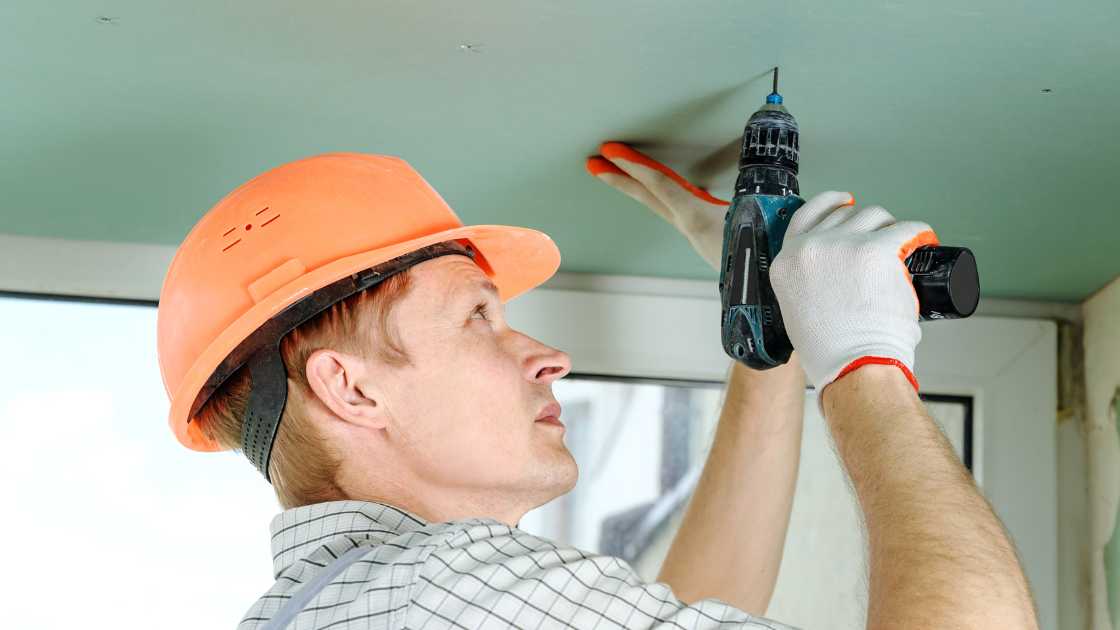
Secure the Popped Screws
Once you’ve marked the screw pops, use a screwdriver or cordless drill with a screwdriver bit to tighten the screws back into the wall. Be gentle during this process to avoid damaging the drywall further. Ensure that the screw is flush with the wall’s surface.
Remove Any Loose Drywall
In some cases, the drywall around the screw pop may have become damaged or weakened. Use a utility knife to carefully remove any loose or damaged drywall around the area. Be cautious not to cut too deep into the drywall, as you want to maintain the integrity of the wall.
Apply Joint Compound
To create a smooth and even surface, you’ll need to apply joint compound over the repaired area. Use a drywall taping knife to spread a thin layer of joint compound over the screw pop and the surrounding area. Feather the edges of the compound to blend it seamlessly with the rest of the wall. Allow the compound to dry completely, which usually takes about 24 hours.
Sand and Repeat
Once the joint compound has dried, lightly sand the repaired area with 120-grit sandpaper to smooth out any imperfections. If necessary, apply a second or even third coat of joint compound, allowing each layer to dry and sanding between coats until the repair is flush with the surrounding wall.
Prime and Paint (if needed)
After achieving a smooth and seamless repair, you may need to prime and paint the patched area to match the rest of the wall. Use a high-quality primer and the same paint color as the surrounding wall for a flawless finish. Follow the manufacturer’s instructions for drying times between coats.
Final Inspection
Once you’ve completed the priming and painting, inspect the repaired area to ensure it blends seamlessly with the rest of the wall. If necessary, touch up any imperfections to achieve a perfect finish.
FAQs
What causes screw pops in drywall, and why do they occur?
Screw pops in drywall occur due to a combination of factors. When drywall is initially installed, screws or nails are used to secure it to the wall’s framing or studs. Over time, temperature fluctuations, settling of the house, or inadequate installation techniques can lead to these fasteners loosening. This causes the screws or nails to push through the drywall’s paper surface, creating a bump or dimple known as a screw pop.
Can I simply hammer the popped screw or nail back in place to fix the issue?
Hammering the popped screw or nail back in place may temporarily address the issue, but it’s not a recommended solution. To fix screw pops in drywall effectively, you should first tighten the fastener, and then apply joint compound to create a smooth and seamless finish. Simply hammering the screw or nail back in place won’t provide the long-lasting repair and aesthetic improvement that a more comprehensive fix can achieve.
Do I need to hire a professional to fix screw pops in drywall, or can I do it myself?
Fixing screw pops in drywall is a DIY-friendly project that many homeowners can tackle themselves. With the right tools, materials, and some basic skills, you can successfully repair screw pops and restore your wall’s smooth appearance. Hiring a professional may be necessary for more extensive drywall damage or if you’re uncomfortable with DIY projects, but for most screw pops, a DIY approach is both cost-effective and achievable.
Conclusion
In conclusion, fixing screw pops in drywall is a manageable DIY project that can restore the aesthetics of your walls. With the right tools, materials, and a little patience, you can tackle this common issue and achieve professional-looking results. Regular maintenance and prompt repairs will help keep your drywall in excellent condition and ensure a smooth and attractive interior finish in your home.