Tubeless tires have revolutionized the cycling and automotive industries with their enhanced performance and reduced risk of flats. However, even with their robust design, flat tires can still happen. Knowing how to patch a tubeless tire can save you time, money, and frustration on the road. In this comprehensive guide, we’ll walk you through the steps to effectively and safely patch a tubeless tire, ensuring you’re back on your journey in no time.
There are 10 Steps to Effectively and Safely Patch a Tubeless Tire
Gather Your Tools and Materials
Before you embark on your tire patching adventure, make sure you have the necessary tools and materials at hand. You’ll need:
Tubeless tire plug kit
Tire lever(s)
Pliers
Safety gloves
Lubricant (soapy water works well)
Pump or CO2 inflator
Locate the Puncture
Carefully inspect the tire to identify the puncture. You might notice a nail, thorn, or foreign object embedded in the tire. Also, check for any visible damage to the sidewall. If the puncture is larger than ¼ inch (6mm) or there’s damage to the sidewall, it’s safer to replace the tire.
Deflate the Tire
Using a valve core remover or a valve core tool, release the air from the tire to create a safe working environment. Ensure that the tire is fully deflated before proceeding.
Remove the Tire
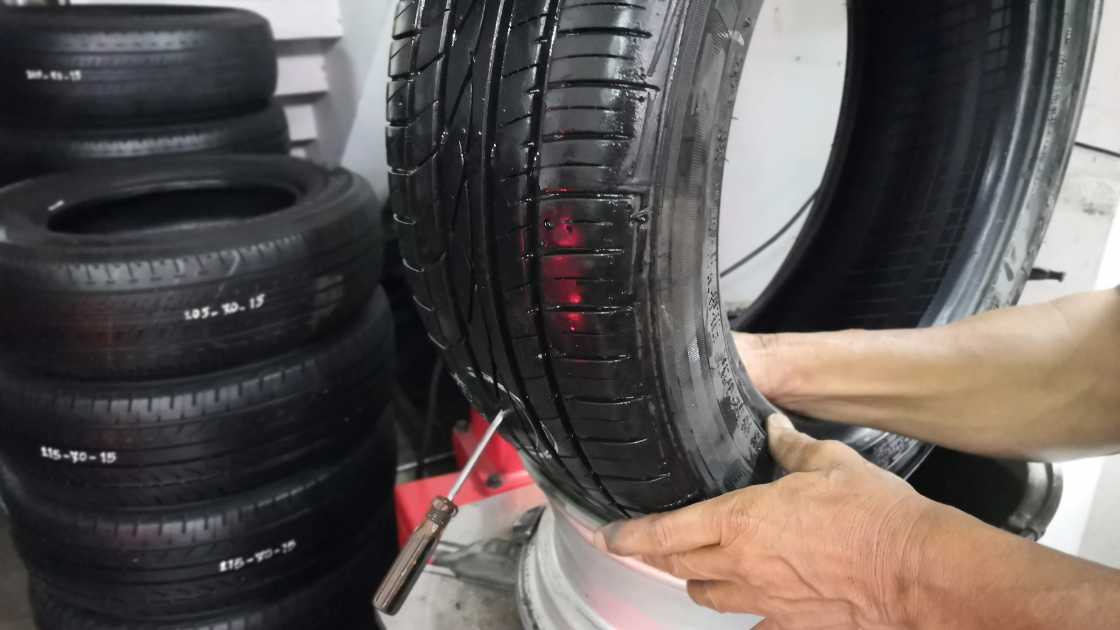
Insert one or more tire levers between the tire bead and rim to carefully remove one side of the tire. Take your time and work your way around the rim, making sure not to damage the tire or rim in the process.
Locate the Puncture from the Inside
Once the tire is off, inspect the inside for the puncture. Feel around the area and listen for any hissing sounds, which can indicate the exact location of the hole.
Prepare the Plug
Select an appropriate plug from your tubeless tire plug kit. Insert the plug through the eye of the needle tool, leaving a small portion of the plug sticking out. Applying a dab of lubricant to the plug can help with insertion.
Insert the Plug
Carefully insert the plug into the puncture from the inside of the tire until only a small portion of the plug is visible on the outside. Make sure the plug is centered within the hole to ensure a proper seal.
Trim Excess Plug
Using pliers, grip the exposed portion of the plug and firmly pull it through until it is flush with the tire’s surface. Trim any excess plug material sticking out beyond the tire using scissors or a knife.
Re-inflate and Test
Reattach the valve core if removed earlier and use a pump or CO2 inflator to inflate the tire to the recommended pressure. Listen and feel for any air leaks around the patched area. If there are no leaks and the tire holds pressure, you’re good to go.
Reinstall the Tire
Carefully reposition the tire bead onto the rim, using your hands to push it back into place. Make sure the bead is evenly seated around the entire circumference of the rim.
FAQs
Can I patch a tubeless tire myself, or should I seek professional help?
While patching a tubeless tire is a relatively straightforward process, it requires some basic tools and skills. If you’re comfortable with basic bike maintenance and have the necessary tools, you can certainly attempt to patch a tubeless tire on your own. However, if you’re unsure about the extent of the damage or lack experience with tire repairs, it’s advisable to consult a professional mechanic. They can assess the tire’s condition and ensure the repair is performed correctly, reducing the risk of future issues.
What’s the maximum size of a puncture that can be patched in a tubeless tire?
In general, tubeless tire plug kits are designed to repair punctures up to approximately ¼ inch (6mm) in diameter. These punctures typically include small nails, thorns, and similar debris. It’s essential to inspect the puncture carefully to ensure it falls within the size limit. If the hole is larger than this, or if there’s damage to the sidewall of the tire, it’s best to replace the tire rather than attempting a patch. A professional assessment can help determine the appropriate course of action for larger punctures or sidewall damage.
Can I continue using a patched tubeless tire for long distances or at high speeds?
A properly patched tubeless tire can provide reliable performance for shorter distances and moderate speeds. However, it’s important to remember that a patched tire is not a permanent solution. Patched tires might be less durable than an original, undamaged tire and could be more prone to future punctures. It’s recommended to use patched tires for temporary purposes, such as getting home or to a repair shop, rather than for prolonged use. Always monitor the tire’s pressure and condition closely after patching and consider replacing the tire if you plan to embark on longer journeys or high-speed rides.
Conclusion
Knowing how to patch a tubeless tire can be a valuable skill that keeps you rolling smoothly on your adventures. By following this step-by-step guide, you can confidently repair minor punctures and extend the life of your tubeless tires. Remember, safety always comes first, and if you’re unsure about a tire’s condition or the severity of the damage, it’s wise to consult a professional before attempting any repairs. With the right tools and techniques, you’ll be back on the road in no time, ready to tackle new horizons.


![Best Easy Wheels For Brompton [With Installation Guide]](https://besthomeimprovementideas.com/wp-content/uploads/2022/09/Best-Easy-Wheels-For-Brompton.jpg)


