Giving your bathroom a makeover doesn’t have to be an expensive endeavor. One simple and cost-effective way to refresh the look of your bathroom is by painting your bathroom cabinet. By following a few easy steps, you can breathe new life into your bathroom and create a stylish and inviting space. In this article, we’ll guide you through the process of painting your bathroom cabinet, ensuring a professional and long-lasting finish.
Gather Your Materials
Before you begin, make sure you have all the necessary materials at hand. Here’s a list of items you’ll need:
Screwdriver
Sandpaper (medium and fine grit)
Tack cloth
Primer
Paint (choose a high-quality paint suitable for cabinetry)
Paintbrushes (angled and small detail brush)
Painter’s tape
Drop cloth or old sheets
Polyurethane (optional, for added protection)
Prepare the Cabinet
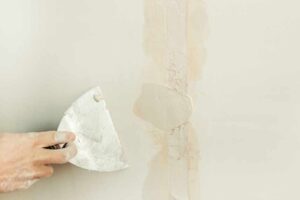
Start by removing all the hardware from the cabinet doors, including hinges, handles, and knobs, using a screwdriver. Place the hardware in a safe place, so they don’t get lost or damaged during the painting process. Next, thoroughly clean the cabinet surfaces using a mild detergent to remove any dirt, grease, or residue. Once cleaned, lightly sand the cabinet doors, drawers, and frame with medium grit sandpaper. This step will help the paint adhere better to the surface.
Prime the Cabinet
Apply a coat of primer to the cabinet surfaces, including the doors, drawers, and frame. Primer helps create a smooth and uniform surface for the paint to adhere to, enhances durability, and prevents stains from bleeding through. Use a brush or a roller to apply the primer evenly. Allow the primer to dry completely before moving on to the next step.
Sand and Clean
After the primer has dried, use fine-grit sandpaper to sand the cabinet surfaces gently. Sanding helps to smooth out any imperfections or brush strokes left by the primer. Once you’ve finished sanding, use a tack cloth to remove any dust or debris from the cabinet, ensuring a clean painting surface.
Apply the Paint
Now it’s time to add color to your bathroom cabinet. Choose a high-quality paint specifically designed for cabinets, as it will provide better coverage and durability. Begin by painting the edges and corners with a small detail brush, ensuring precision and a professional finish. Then, use an angled brush or a small roller to paint the larger surfaces. Apply the paint evenly, using smooth strokes in the direction of the wood grain. Allow the first coat to dry completely, and then apply a second coat for better coverage and a more polished look. Let the final coat dry thoroughly.
Add a Protective Finish
For added protection and durability, consider applying a layer of polyurethane. This step is especially recommended for bathroom cabinets, as they are exposed to moisture and frequent use. Follow the instructions on the polyurethane can, and apply a thin coat using a brush or a roller. Allow the polyurethane to dry completely before reinstalling the cabinet hardware.
Reinstall the Hardware
Once the paint and any optional finishes have dried completely, reinstall the cabinet hardware. Carefully screw the hinges, handles, and knobs back into their original positions. Ensure they are tightened securely for a polished and functional result.
FAQs
Do I need to remove the cabinet doors before painting?
It is generally recommended to remove the cabinet doors before painting to achieve a smoother and more even finish. Removing the doors also allows for easier access to all surfaces, ensuring that no areas are missed. Additionally, removing the doors makes it easier to paint the edges and corners for a professional look. However, if removing the doors is not feasible or you prefer to paint them in place, you can still achieve good results with careful taping and attention to detail.
What type of paint should I use for painting a bathroom cabinet?
For painting a bathroom cabinet, it is important to choose a high-quality paint that is specifically formulated for cabinetry or furniture. These paints are designed to provide good coverage, durability, and resistance to moisture and everyday wear and tear. Look for paints with a smooth finish and ones that are easy to clean. Water-based paints are generally a good choice for bathroom cabinets due to their low odor and quick drying time. Remember to select a color that complements your bathroom’s overall design and aesthetic.
Is sanding necessary before painting a bathroom cabinet?
Yes, sanding is an important step before painting a bathroom cabinet. Sanding helps to create a smooth surface by removing any existing finish, rough spots, or imperfections. It also provides a better grip for the primer and paint, allowing them to adhere properly. Start by using medium-grit sandpaper to roughen the surfaces gently, and then follow up with fine-grit sandpaper for a smoother finish. After sanding, make sure to clean the cabinet thoroughly to remove any dust or debris before applying the primer and paint.
Conclusion
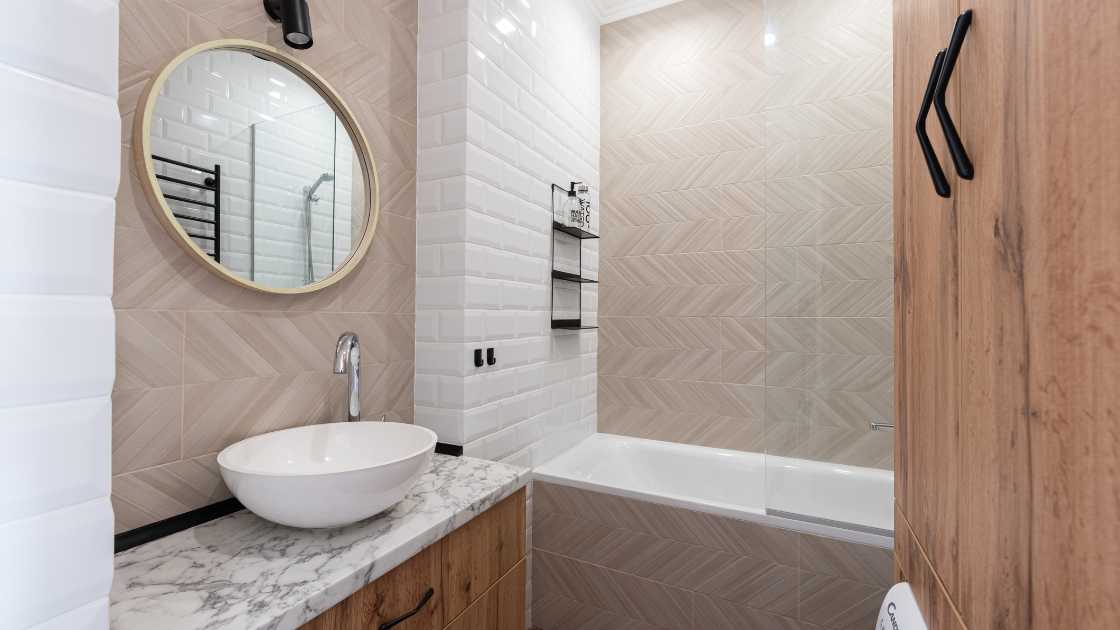
Painting your bathroom cabinet is a fantastic way to revitalize your bathroom’s look without breaking the bank. By following these steps, you can transform your cabinet into a stylish focal point that enhances your bathroom’s overall aesthetic. Remember to take your time, follow the proper preparation techniques, and choose high-quality materials for a professional finish that will last for years to come. Get ready to enjoy your newly painted bathroom cabinet and the fresh ambiance it brings to your space!